


How to Design Your Own T-Shirt (Step-by-Step for Beginners)
Learn how to design your own t-shirt step-by-step, including choosing the right shirt, print method, and avoiding common beginner mistakes.

Designing your own t-shirt might seem complicated at first, but it’s actually easier than most people think. Whether you’re creating a shirt for a business, event, brand, or just for fun, the process comes down to a few simple steps.
With the rise of online design tools and printing platforms, you no longer need to be a professional designer to create something that looks clean and high-quality.
Step 1: Start with your idea
Every good t-shirt design starts with a clear idea. Ask yourself what the shirt is for. Is it for a business logo, a funny quote, a team event, a brand launch, or a personal gift? Your purpose will guide your design style.
Simple designs often work best. Clean text, bold graphics, and strong contrast usually print better than overly complex artwork.
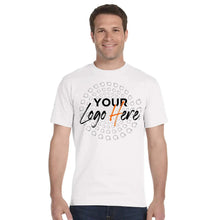
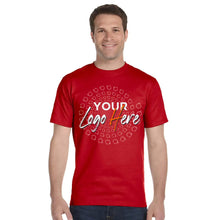
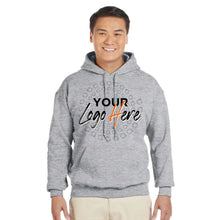
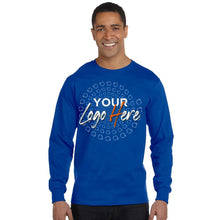
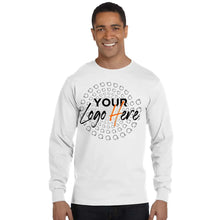
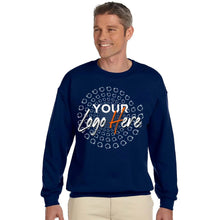
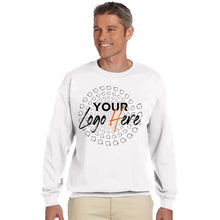
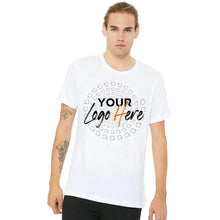
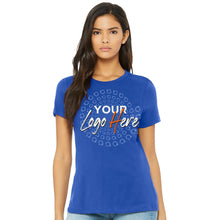
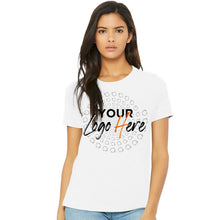
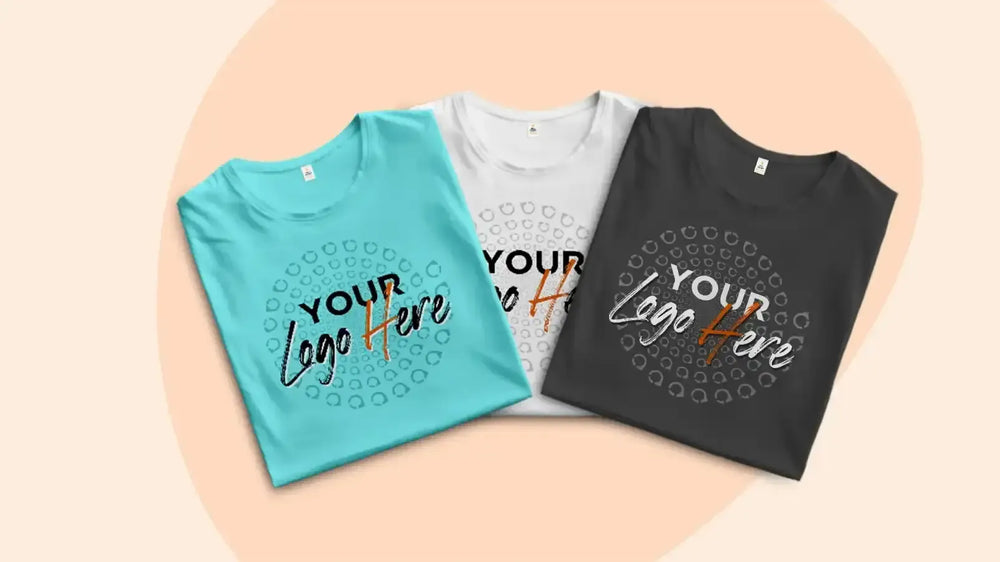
Step 2: Choose the right t-shirt
The type of shirt you choose affects how your design looks and feels. Different fabrics and colors interact with ink differently.
- Light-colored shirts work well for most designs
- Darker shirts may require special printing methods
- Premium cotton shirts usually give better print results
You can explore different options like t-shirts, hoodies, or tank tops depending on your project.
Step 3: Pick the right printing method
Your design should match the printing method. This is one of the most important steps that beginners often overlook.
- Screen printing: Best for bulk orders and simple designs
- DTG (Direct-to-Garment): Great for detailed, full-color designs
- DTF (Direct-to-Film): Flexible for different materials and complex graphics
- Heat transfer vinyl: Ideal for names, numbers, and simple personalization
If you’re unsure, most professional printing services will help guide you based on your design.
Step 4: Create your design
You have several options when it comes to designing your shirt:
- Use online design tools
- Upload your own artwork
- Hire a designer
- Use AI tools to generate ideas
Make sure your file is high resolution. Low-quality images can lead to blurry prints, which is one of the most common mistakes beginners make.
Step 5: Check size and placement
Placement matters more than people realize. A design that looks good on screen can look off when printed if it’s too small, too large, or not positioned correctly.
Common placements include:
- Center chest
- Left chest
- Full front
- Back print
Always preview your design before placing the order.
Step 6: Review before printing
Before finalizing your order, double-check everything:
- Spelling and text
- Colors and contrast
- Image quality
- Placement and size
Many printing companies offer artwork review services to catch issues before production.
Step 7: Order and test
If you’re creating shirts for a business or brand, it’s a good idea to order a sample first. This allows you to check quality, fit, and print accuracy before placing a larger order.
Common mistakes to avoid
- Using low-resolution images
- Choosing the wrong printing method
- Overcomplicating the design
- Ignoring placement and sizing
- Not testing before bulk orders
Final thoughts
Designing your own t-shirt doesn’t have to be overwhelming. With the right approach, you can create something that looks professional and prints perfectly.
Focus on keeping your design clean, choosing the right method, and working with a provider that helps guide you through the process. That’s the easiest way to turn your idea into a high-quality custom shirt.