


How to Set Up a DTG Printer for Perfect Prints
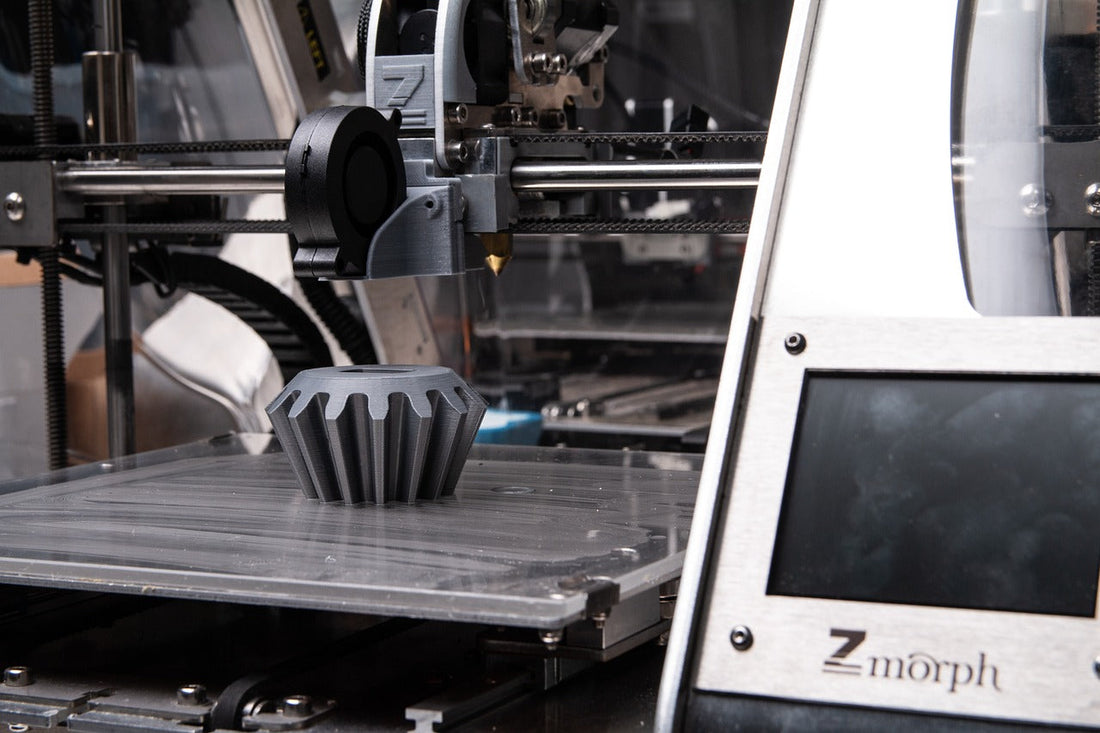
Direct-to-garment (DTG) printing has revolutionized the custom apparel industry, providing a fast, efficient, and high-quality method for printing intricate designs on fabric. Unlike screen printing, DTG allows for full-color, detailed prints with minimal setup, making it ideal for small businesses and custom orders. However, achieving perfect prints requires more than just having the right printer—it involves proper setup, calibration, and maintenance to ensure consistent quality and efficiency.
This guide walks through the complete process of setting up a DTG printer, from choosing the right materials to fine-tuning printing settings. With the right preparation and knowledge, DTG printing can produce vibrant, long-lasting prints that stand out in the market.
Understanding Your DTG Printer
Types of DTG Printers
Several DTG printer models are available, each catering to different needs. The most common options include:
-
Epson SureColor F2100 & F3070 – Reliable, high-quality printers known for user-friendly operation and advanced print technology.
-
Brother GTX & GTX Pro – Fast printers with superior color accuracy, ideal for businesses scaling up production.
-
Kornit DTG Printers – High-end industrial printers for bulk production, featuring built-in pre-treatment and advanced ink technologies.
Key Components of a DTG Printer
A DTG printer consists of multiple essential components:
-
Print Head: Uses inkjet technology to spray water-based ink onto fabric.
-
Platen: The platform where garments are placed for printing.
-
Ink System: Includes CMYK and white inks for vivid prints.
-
RIP Software: Converts designs into printable formats with optimized settings.
-
Maintenance System: Prevents print head clogging and ensures long-term efficiency.
Preparation Before Setup
Choosing the Right Location and Workspace Layout
DTG printing requires a well-ventilated and organized workspace. Key considerations include:
-
Space Availability: Ensure at least 10-15 square feet for the printer, heat press, and drying station.
-
Airflow and Ventilation: Proper ventilation minimizes ink mist and fumes.
-
Ergonomics: Place equipment within easy reach to streamline workflow.
Environmental Factors Affecting DTG Printing
-
Temperature: Maintain a consistent room temperature of 65-75°F for optimal ink performance.
-
Humidity Levels: Keep humidity between 40-60% to prevent ink from drying inside the print head.
-
Lighting: Good lighting helps with garment alignment and quality inspection.
Detailed Step-by-Step DTG Printer Setup
Unboxing and Assembling Your DTG Printer
-
Carefully unpack the printer and accessories.
-
Assemble the platen and install any additional attachments.
-
Place the printer on a stable surface away from direct heat or moisture.
Initial Software Installation and Calibration
-
Install the manufacturer-recommended software and drivers.
-
Perform an initial test print to check for proper ink flow.
-
Run a nozzle check and head alignment for precision printing.
Connecting to Computers and Networks
-
Connect via USB or Wi-Fi for seamless file transfers.
-
Ensure the RIP software is correctly linked to the printer.
-
Adjust printer settings according to the fabric and design requirements.
Choosing the Right Materials
Types of Fabrics Suitable for DTG Printing
-
Cotton: Best material for DTG due to excellent ink absorption.
-
Cotton-Polyester Blends: Work well but require special pre-treatment.
-
Linen & Bamboo: Eco-friendly options with good ink retention.
Importance of Garment Selection
-
Smooth fabric texture: Prevents uneven ink distribution.
-
Pre-washed garments: Reduce shrinkage and improve adhesion.
-
Light vs. Dark Fabrics: Dark fabrics require a white underbase for vibrant prints.
Pre-Treatment Process
How to Properly Pre-Treat Garments
-
Apply pre-treatment solution evenly using a spray gun or automatic machine.
-
Use a foam roller to spread the solution evenly.
-
Cure the garment using a heat press (330°F for 30 seconds) before printing.
Manual vs. Automatic Pre-Treatment Options
-
Manual Application: Affordable but requires consistency.
-
Automatic Pre-Treaters: Ensure precision and faster production.
Loading and Configuring the Printer
Setting Up the Platen and Garment Alignment
-
Ensure the garment lies flat on the platen with no wrinkles.
-
Secure the fabric with a frame or adhesive for stability.
-
Adjust platen height to avoid ink overspray.
Ink System Preparation and Maintenance Tips
-
Shake white ink cartridges daily to prevent separation.
-
Run print head cleanings to avoid clogging.
-
Store ink in a cool, dry place to maintain quality.
Optimal Printing Settings
Adjusting Printer Settings for Different Fabric Types
-
Light Garments: Use CMYK inks without a white underbase.
-
Dark Garments: Require white ink underbase for vibrant prints.
-
Blends & Textured Fabrics: Adjust ink saturation to prevent bleeding.
Resolution and Ink Saturation Tips
-
Set print resolution to 1440x1440 dpi for high detail.
-
Reduce ink flow for lighter garments to prevent stiffness.
-
Optimize color profiles for accurate print reproduction.
Post-Printing Processes
Curing the Ink: Heat Press vs. Tunnel Dryer
-
Heat Press: Ideal for small batches; press at 330°F for 90 seconds.
-
Tunnel Dryer: Better for bulk production, offering even curing.
Handling and Storage of Printed Garments
-
Allow garments to cool before folding.
-
Store in a moisture-free environment to prevent ink deterioration.
Troubleshooting Common Issues
Common DTG Printing Problems and How to Solve Them
-
Faded Prints: Increase ink saturation or re-check pre-treatment application.
-
Ink Smudging: Ensure garments are properly cured post-printing.
-
Clogged Print Heads: Regularly run cleaning cycles.
Maintenance Tips to Avoid Frequent Issues
-
Perform daily and weekly maintenance routines.
-
Store ink cartridges properly to avoid drying.
-
Use genuine inks and pre-treatment solutions for best results.
Advanced Tips and Tricks
Expert Tips for High-Quality Prints
-
Always test print before running bulk production.
-
Adjust white ink layer opacity for better vibrancy.
-
Use RIP software effectively to enhance print clarity.
Innovative Techniques and Creative Applications
-
Experiment with layered printing for texture effects.
-
Use hybrid printing (DTG + embroidery) for unique designs.

Setting up a DTG printer for perfect prints requires careful preparation, precise settings, and consistent maintenance. Mastering each step—from choosing the right fabric to fine-tuning ink flow—ensures high-quality results. For those looking to streamline the process, Custom One Online provides expert DTG printing services with advanced printing techniques and premium garment options.
FAQs
How long does the pre-treatment need to dry before printing?
The pre-treatment should be fully dry, which typically takes 2-5 minutes using a heat press or 10-15 minutes in open air.
What are the best maintenance practices for a DTG printer?
Regular nozzle checks, ink circulation, and print head cleanings help maintain optimal performance.
Can I use third-party inks in my DTG printer?
While possible, third-party inks can cause clogging and inconsistent prints. High-quality, manufacturer-recommended inks ensure the best results.
How to achieve the best color accuracy in DTG printing?
Using ICC color profiles in RIP software improves color matching and consistency.
Troubleshooting poor print quality and ink smudging?
Ensure proper pre-treatment application, adjust ink settings, and use high-resolution artwork for the best results. For premium DTG printing services with precise customization, Custom One Online offers industry-leading solutions tailored to every printing need.